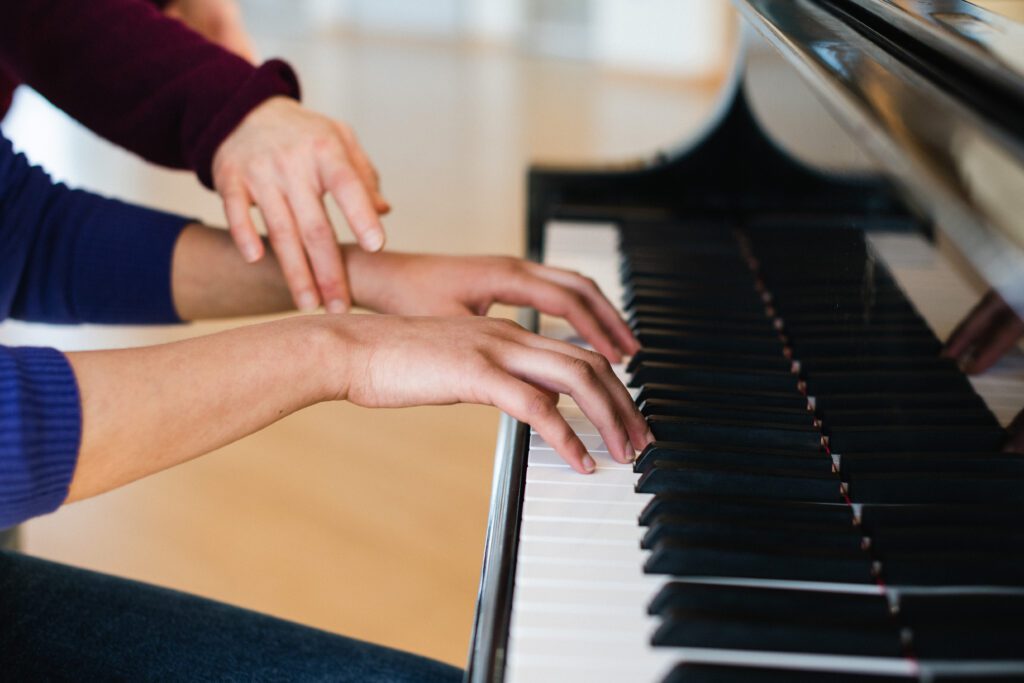
Share. Engage. Inspire.
Welcome to PianoInspires.com
The digital gathering space for the Frances Clark Center community.
Piano Inspires Podcast
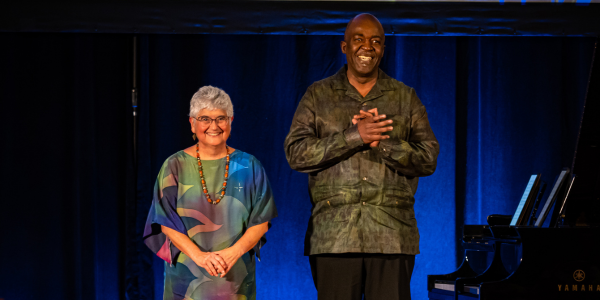
Join Susie Garcia with Luis Sanchez as she shares how collaboration and creativity have inspired her musical journey in this episode of the Piano Inspires Podcast.
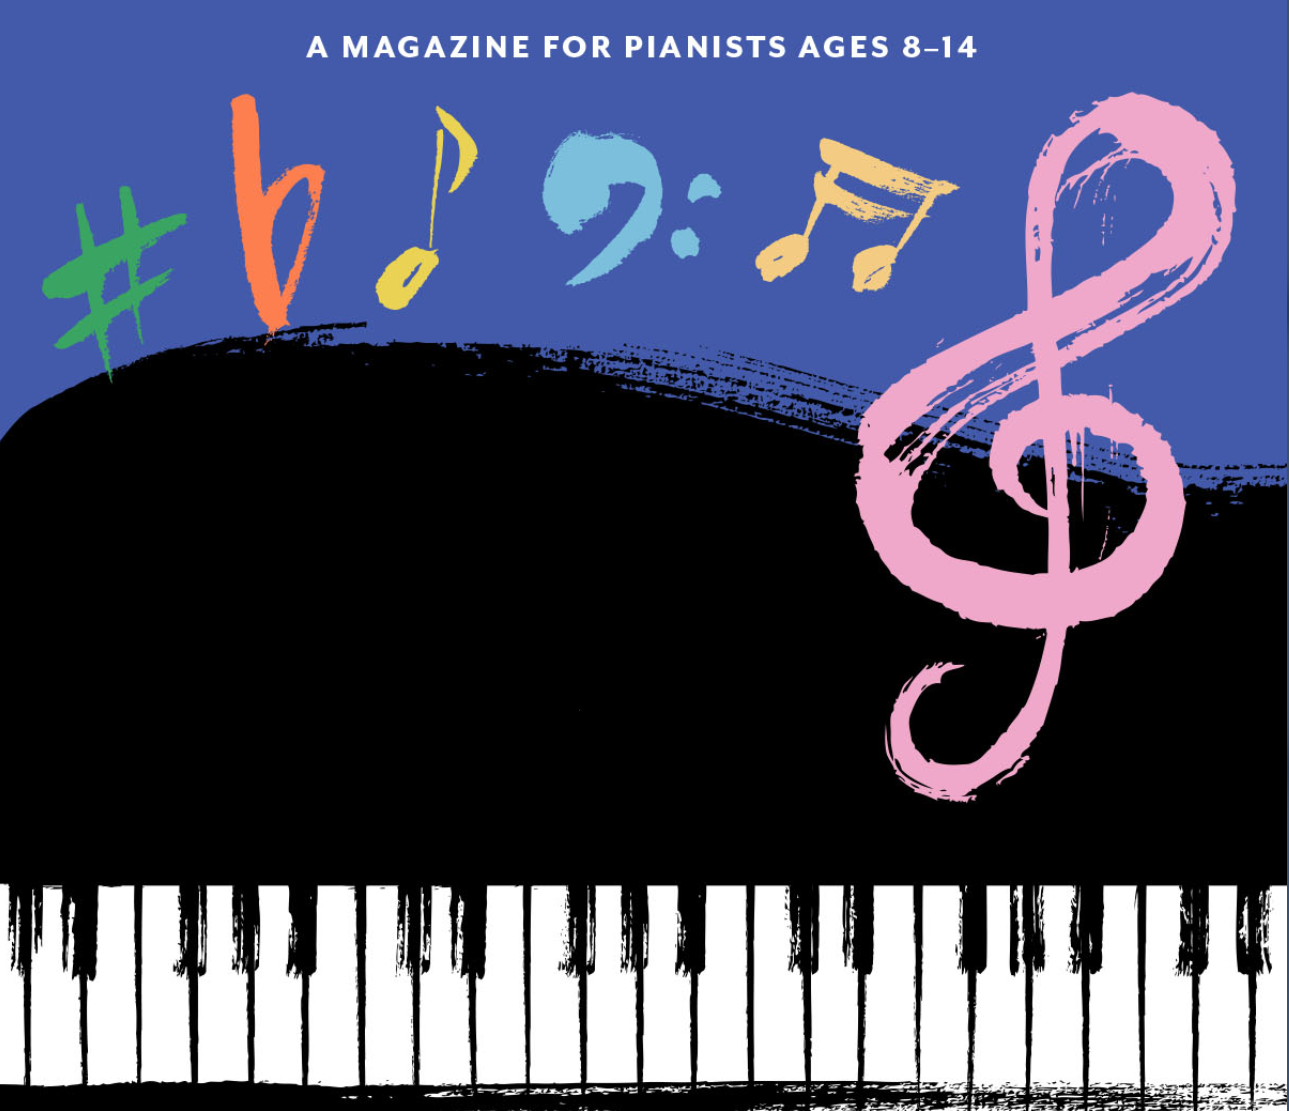
Introducing Piano Inspires Kids!
A Magazine for Young Pianists that contains engaging content for piano students, offers a space for student-created ideas and submissions, and provides the teacher with activities and curricular materials for use in teaching. Visit the website!

Piano Magazine • Spring 2024 • Volume 16 • No 1
The Spring 2024 Piano Magazine
issue is now available!
Celebrating William Chapman Nyaho – and more
  |
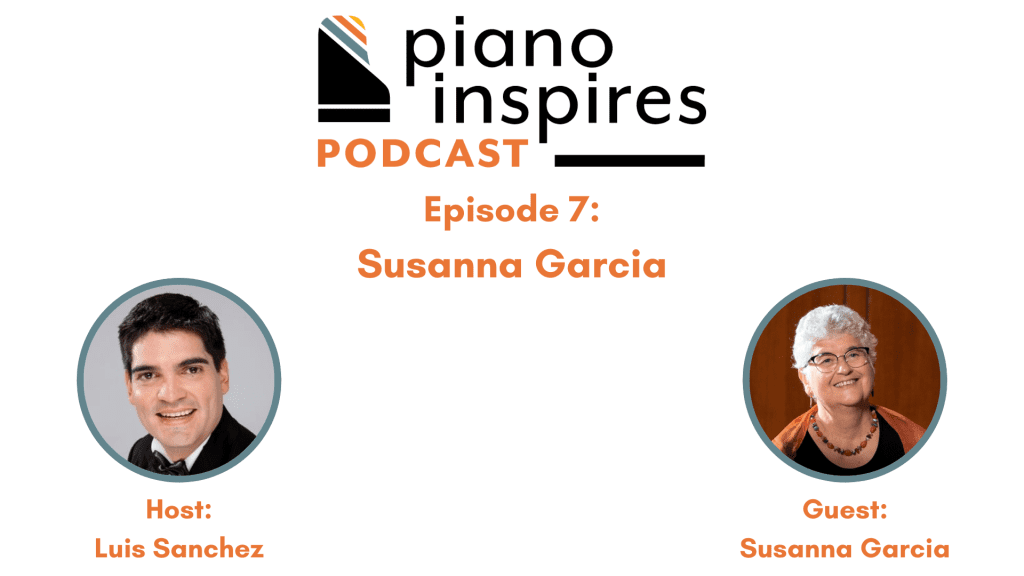
NEW! Piano Inspires Podcast:
Tune in to listen to our inaugural interview series on the transformative power of music.
- Episode 7: Susanna Garcia Discusses DEIB with Luis Sanchez

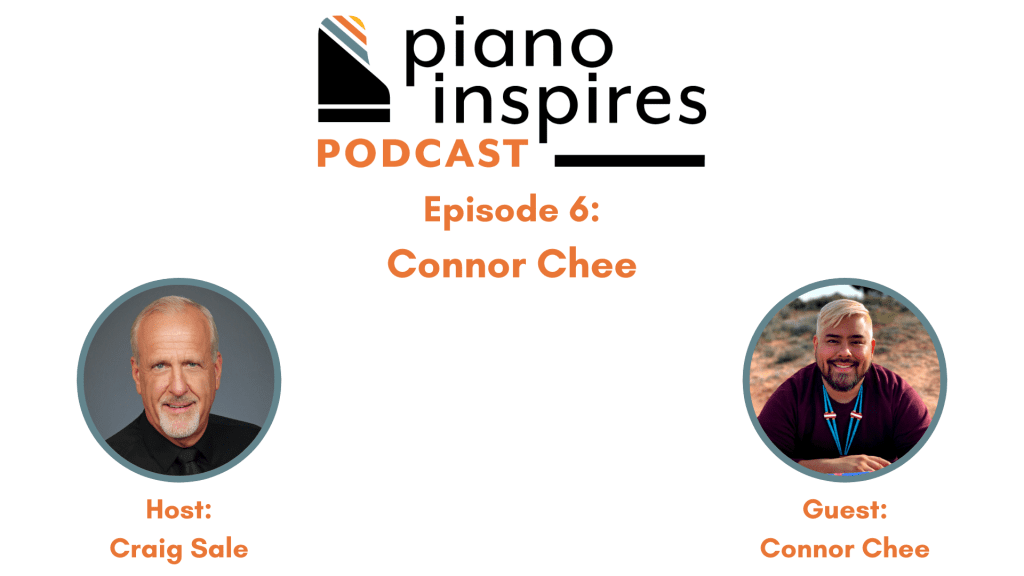
- Episode 6: Connor Chee, Navajo Pianist and Composer
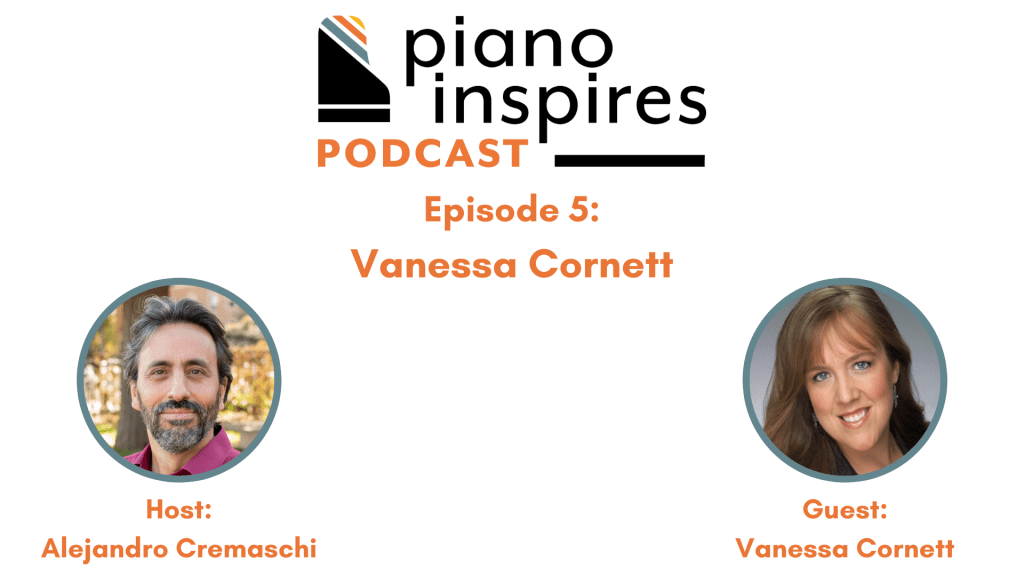
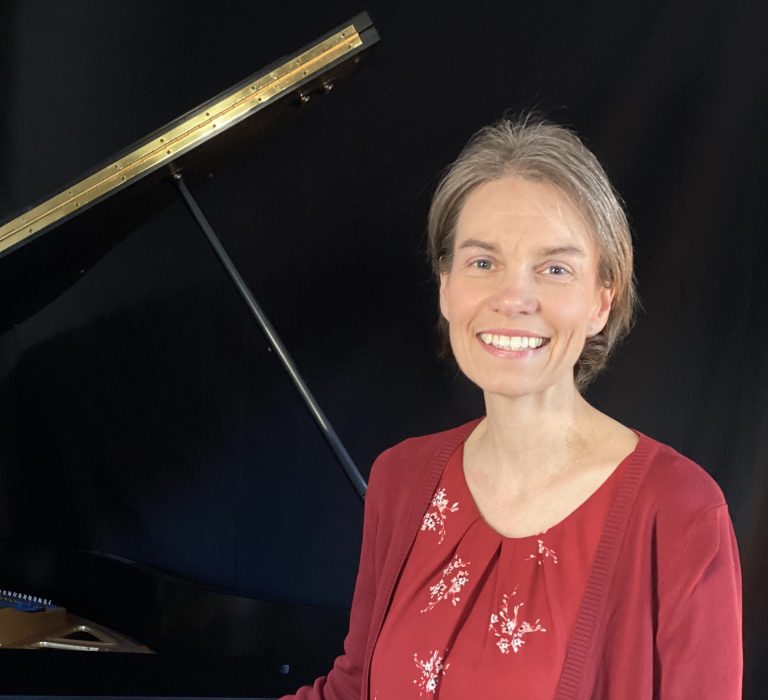
- Episode 5: Vanessa Cornett
NEW! Piano Inspires Discovery:
A space dedicated to inspiring the love of piano and music making through educational and inspirational content.
- It is essential that the focus be on how…
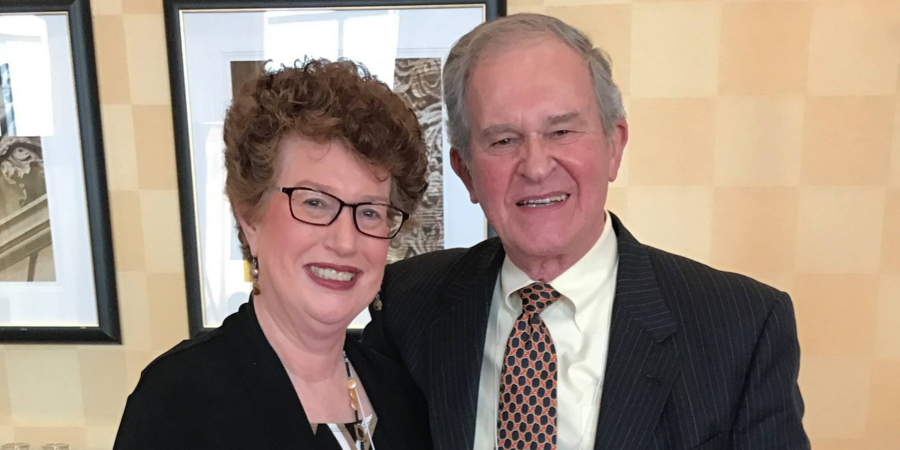
- Gratitude for Marvin
- Piano Inspires Podcast: Susanna Garcia
2024 Summer Intensive Seminars:

An International Exploration of Piano Teaching Literature
with Leah Claiborne and Luis Sanchez, Seminar Co-Leaders
Teaching Elementary Pianists
with Sara Ernst, Seminar Leader
Upcoming Events:

2024 Summer Intensive Seminars: An International Exploration of Piano Teaching Literature
with Leah Claiborne and Luis Sanchez, Seminar Co-Leaders
Upcoming Webinars:
Foundations for Technique
with Julie Hague and Alejandro Cremaschi, host (04/17/2024)

Pedagogical Approaches to Advancing Pianists Through Asian Repertoire
with Ross Salvosa, Regina Tanujaya, and Lisa Yui, with Leah Claiborne, host (05/01/2024)