How do you work on improvisation in your group classes?
Improvisation activities with your group classes can be surprisingly effective. Working with their peers can help encourage and motivate students to try out different ideas and get over any initial hesitation they have about improvising. It is an activity that can engage everyone, and students get to develop their aural skills as they listen to each other. And, you don't need a fancy piano lab to try out some of the ideas below. If you have one, great, but a lab isn't necessary to add meaningful and fun improvisation activities to your group classes.
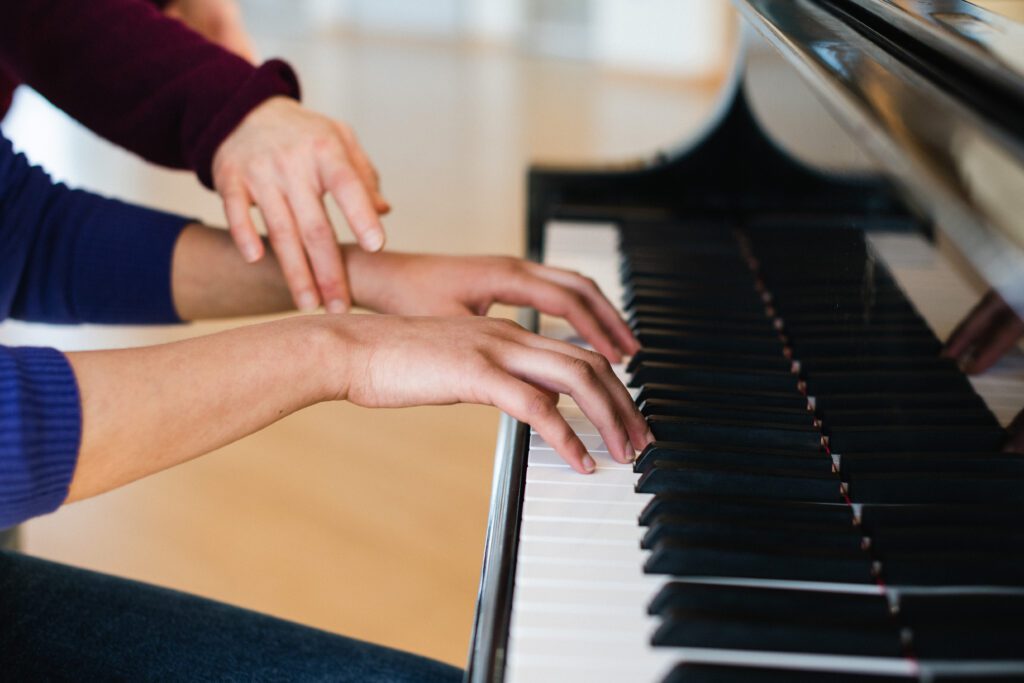
When working on improvisation with a group, I'm happy to work with as few as two students and as many as twelve. I have two players share one keyboard, with me on a separate keyboard or piano facing the group. I have tried this with as many as sixteen students (8 pairs) but I found that to be quite cumbersome!
Here are some of my principles for teaching improvisation to groups. As an example, we'll use "The Girl On The Beach" from American Popular Piano, Level 1 Repertoire (see Excerpt 1).
Principle: Students will make better progress improvising if they are familiar with the melodic, harmonic, and rhythmic language of the piece.
To help develop familiarity with the musical language, I split the student part into a duet for the students to play. Each "primo" student is asked to play the
• Students get to know the pitch set of the original melody.
• The left hand of the student part often contains easy-to-play inversions, so students become familiar with the sound of "rootless" voicings.
•
• Students are listening to each other right away.
All of the students play the original piece together, keeping a steady beat, without a backing track. I have each student tap a foot quietly on the beat while playing–this can be very helpful.
After the students have played the piece
I then ask the "primo" students to count and play the number of different pitches in the
I have the students all play the piece again, but this time I play the teacher part as well (see Excerpt 2). The teacher part indicates the style of the piece- in this
Principle: Feel the rhythm using large (gross) motor skills.
"Primo" students are then asked to tap this rhythm with their LH while they play the RH of the student part.
Then, alongside a tapped quarter note beat, the rhythm of the teacher's RH can be added into the mix, starting with beat two, then adding the syncopated "and" of beat three. Example 4 shows an entire tapping score that can be allocated in various ways.
"Secondo" students can start by tapping the LH of the teacher part, then the RH of the teacher part (top line of Example 4) while playing their written part. Have students see if they can tap a beat with one foot in addition to their played and tapped parts! This is fun to do and extremely useful as a way of "feeling" both the beat and the rhythm of the piece.
These activities encourage a distinction between the underlying beat and the underlying drum rhythms. When they improvise, this will also be significant.
Principle: Working with backing tracks helps students develop improvising skills.
Improvising requires the performer to use a different set of skills than they use when playing notated repertoire. I like to think that students need to "let go" and "just do it," while still paying critical aural attention to whether something "works" or not. Trial and error (rather than "get it right the first time") should be the improviser's motto!
Playing with backing tracks, which don't stop or
Once students can fluently play their part and tap a rhythm, they are ready to work with the backing track. I begin by having all the "secondo" students play their parts as written with the backing track. As we progress, I suggest to students that other
Each "secondo" student gets to try out improvised rhythm patterns. Encourage students to keep these rhythms simple–
Principle: Work on melodic construction separately.
This principle is similar to the
The notes in the original melody of The Girl On The Beach have already been identified: C, D, E and G. Using these notes, students are encouraged to create their own melodies. At first, students are asked to use the same rhythm as the original melody, but with the notes changed to taste. Students are still limited to the four pitches in the original melody. This is an easy first step, and it can produce some nice results. These initial melodies should all be done with the backing track, one pair of players at a time.
I then provide students with further melodic ideas and suggestions. They are asked to remember one or more from the list and use it as a starting point for their
Pyramid: A melody that goes up and then down again. Making a pyramid shape in the air really helps focus their minds on this concept.
Inverted pyramid: A melody that starts on the highest note and then goes to the lowest and
Sawtooth: An oscillation of two notes, often a step or skip apart.
Theme and variation: An idea that is repeated with a small change.
Call and response: An idea answered by a different or contrasting idea.
Rhythmic shift: For example, a three-beat idea that starts on beat one and is repeated starting on beat four, then beat three, etc.
Silence: Start with a rest or have silences within the solo.
Sequence: Repeating an idea up or down a tone.
Example 6 is a sheet I give out to students (after we've tried the devices out by ear) containing some of the above ideas, as well as others.
Some other ideas that can work well, even at the early levels, include:
Grace notes, either single or double (with a demonstration
Melodies in thirds.
Pedal notes above the melody.
These more sophisticated devices are appealing to students because they produce an authentic sound.
The existing repertoire pieces provide rich melodic and rhythmic material for the students; this material can be directly copied or copied with variations. There will also be improvisation devices built into the original tune; theme and variation is one of the most common, but there are others as well.
In the American Popular Piano method, the Improv Etudes are very useful for developing flu ency with the backing track and drilling hands together. These etudes also provide further ideas for the right hand, a variety of rhythm patterns, and a number of left hand variations. Once students have tried a variety of ideas and suggestions, they like to begin building their own solos.
The more students stretch out and try their own solos, the better they will get at playing rhythms and ideas that have discernible shapes–shapes created by repetition and variation, by notes and rests. Listeners like to be able to predict some of what they will hear, though students should take care not to be too predictable. Conversely, too many unconnected ideas can make the listener uneasy, even alienated!
Students need to be encouraged to come up with a distinctive first idea, one that they might return to during their improvisation. These initial ideas can be worked out first, without the track.
Principle: Play together as a group!
After these
All of the above steps work well in a group setting, where students can hear a variety of ideas and have the chance to work together to create an interesting musical product. Most pop and jazz improvisations are professionally performed in musical ensembles, so the group setting is an ideal place for learning the first steps of improvisation.
You have to be a member to access this content.
Please login and subscribe to a plan if you have not done so.
Comments