Share. Engage. Inspire.
Welcome to PianoInspires.com
The digital gathering space for the Frances Clark Center community.
Piano Inspires Podcast
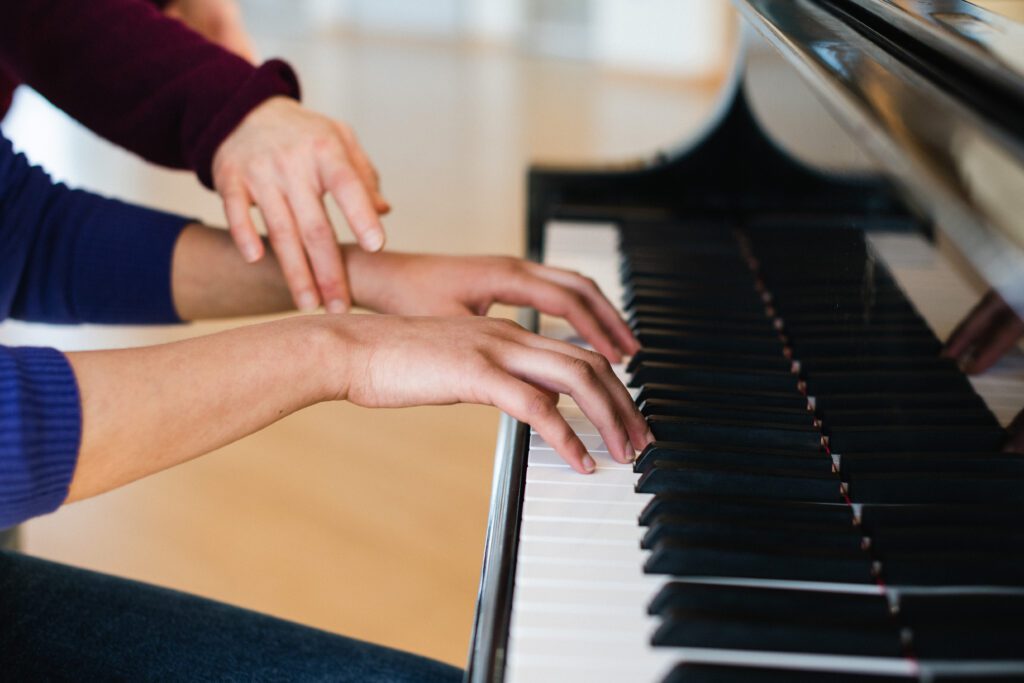
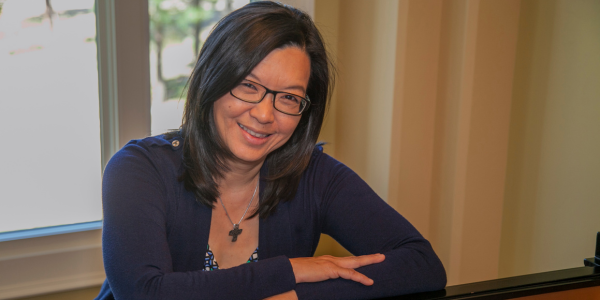
Join Chee-Hwa Tan with Alejandro Cremaschi as she talks about her compositional process, the process of storytelling, and learning technique through emotion in this episode of the Piano Inspires Podcast.
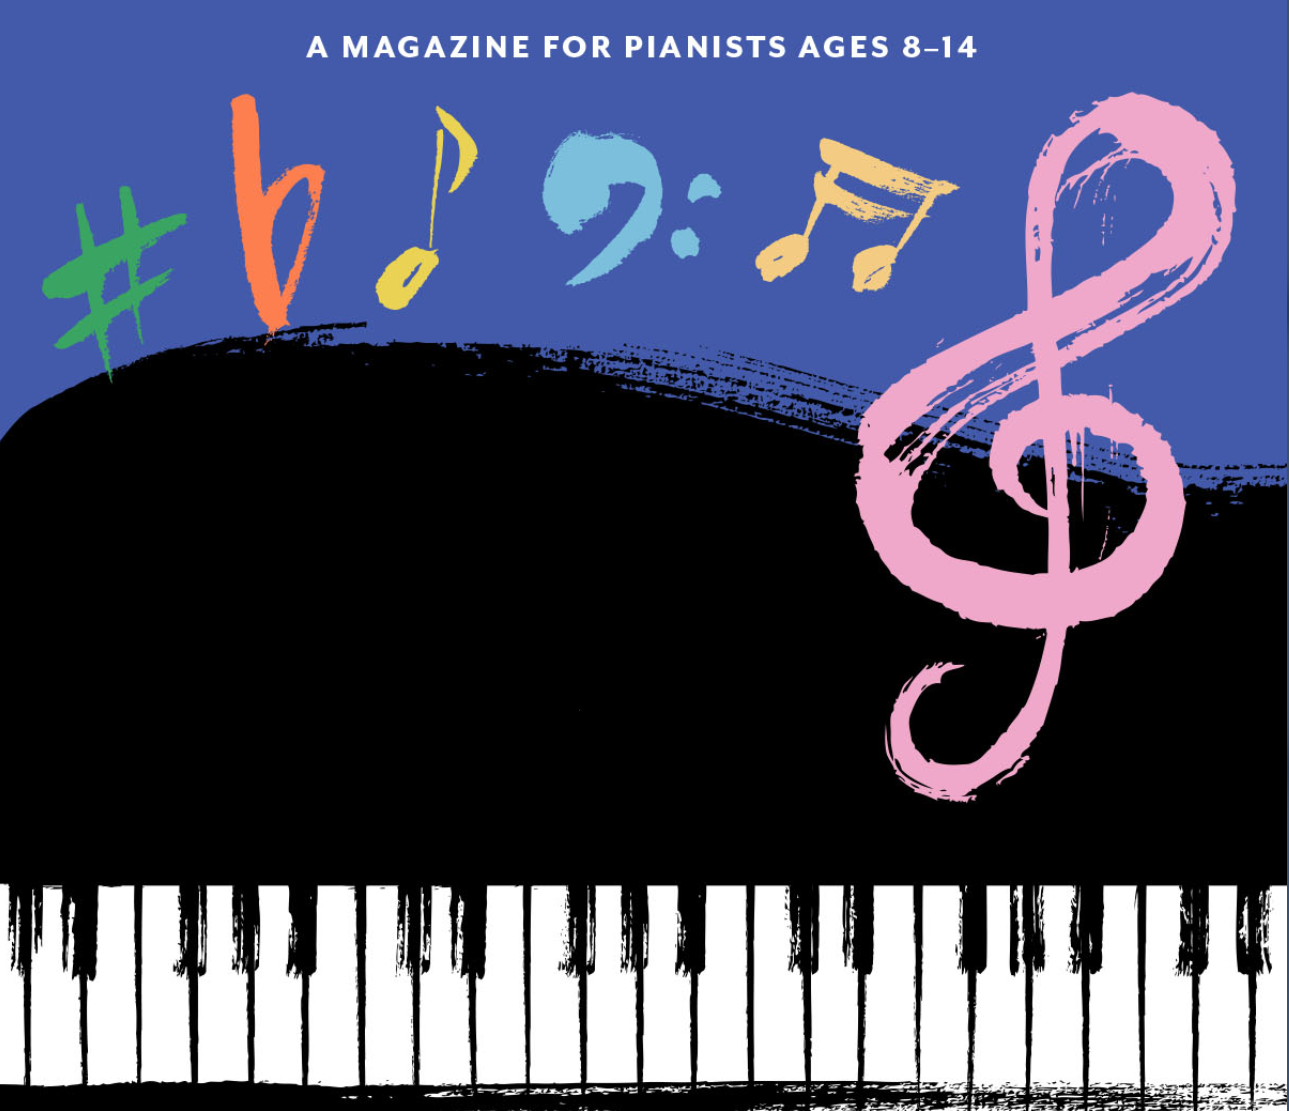
Introducing Piano Inspires Kids!
A Magazine for Young Pianists that contains engaging content for piano students, offers a space for student-created ideas and submissions, and provides the teacher with activities and curricular materials for use in teaching. Visit the website!

Piano Magazine • Spring 2024 • Volume 16 • No 1
The Spring 2024 Piano Magazine
issue is now available!
Celebrating William Chapman Nyaho – and more
   |
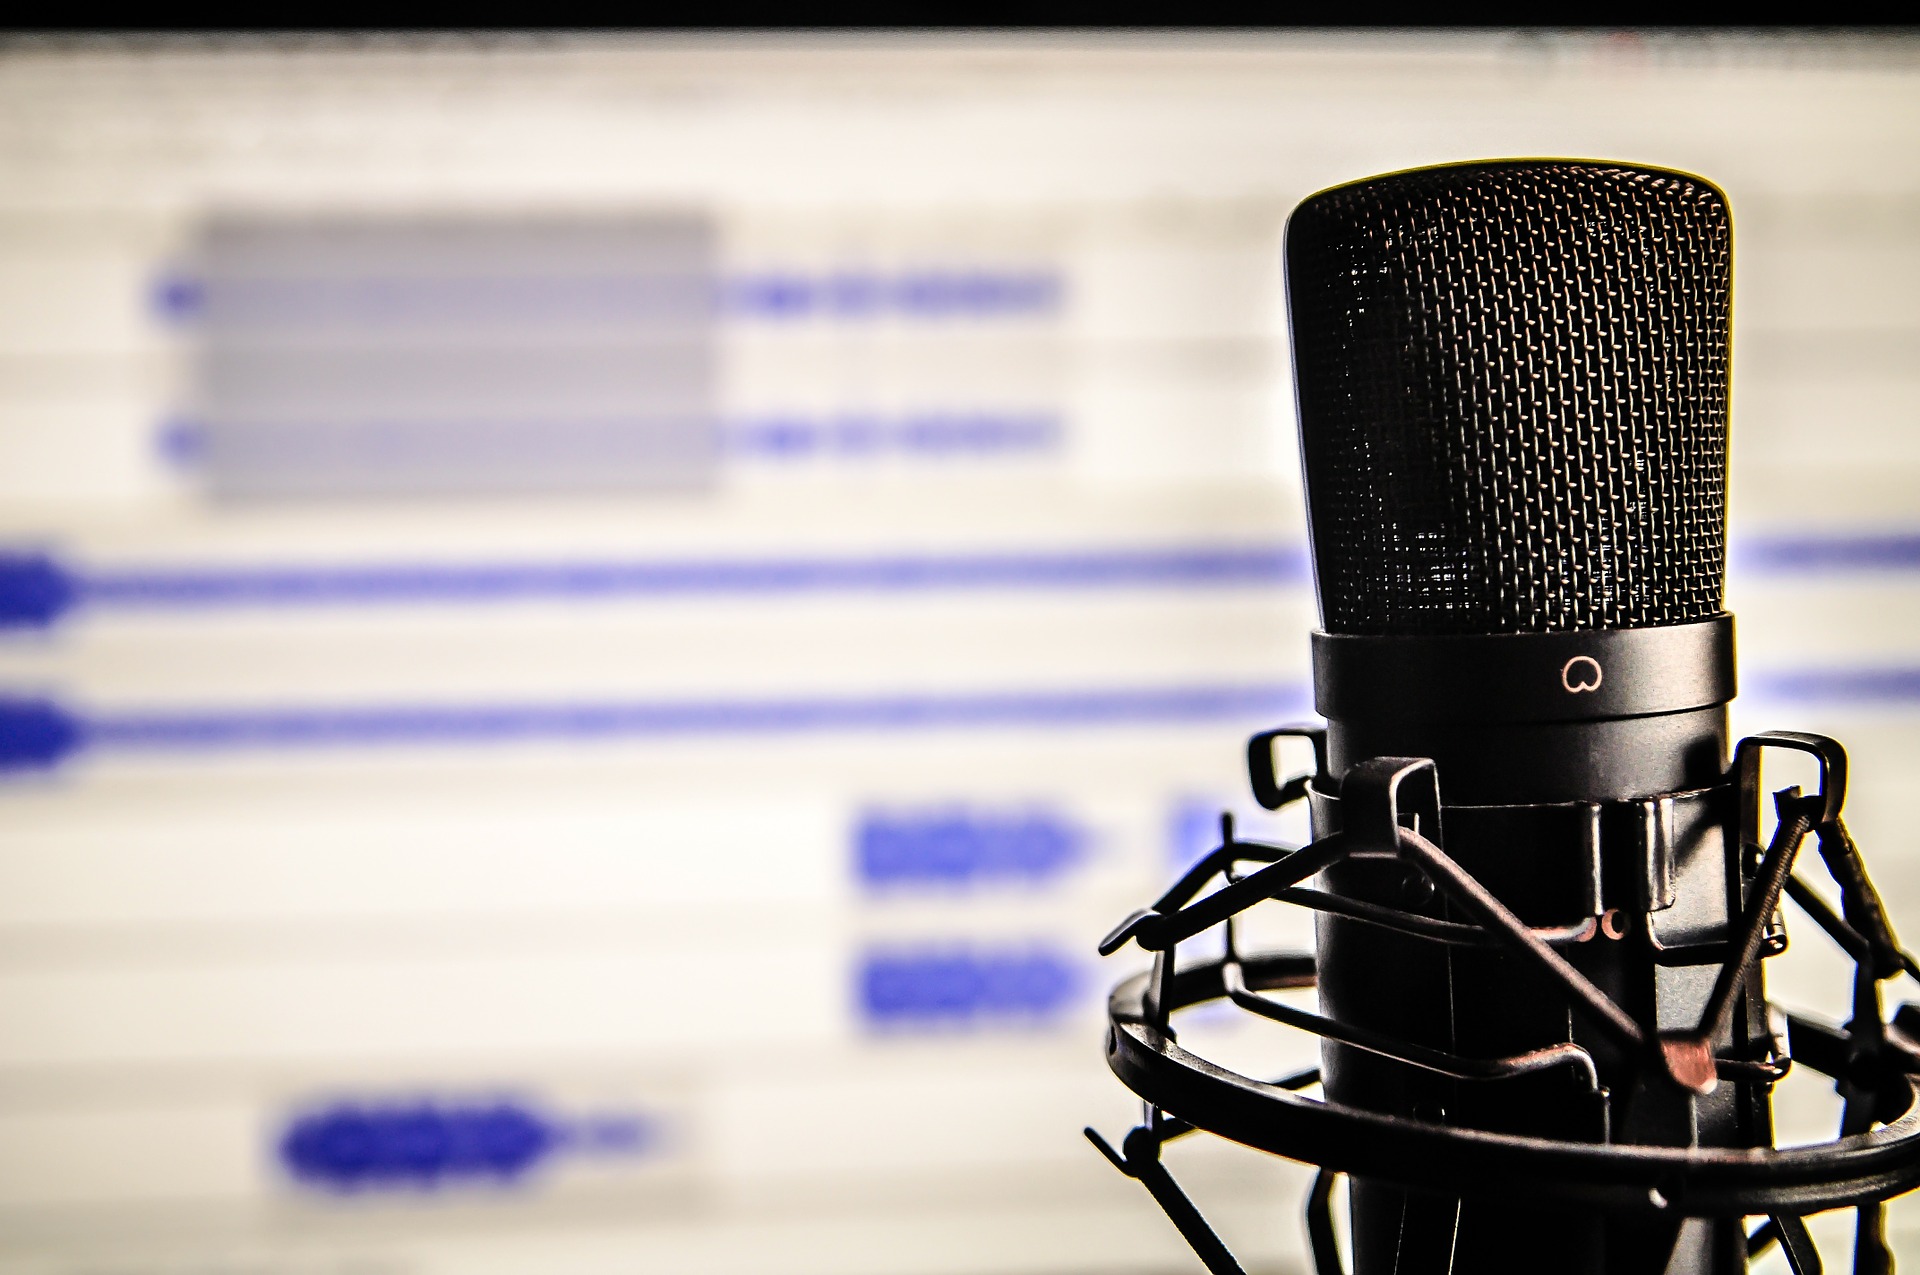
NEW! Piano Inspires Podcast:
Tune in to listen to our inaugural interview series on the transformative power of music.
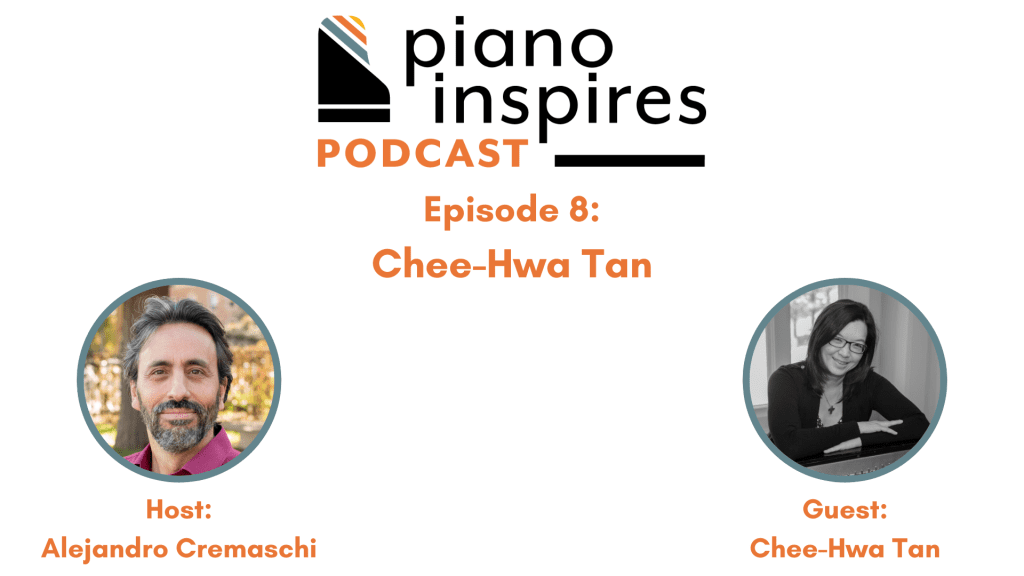
- Episode 8: Chee-Hwa Tan, Composer, Pianist, and Teacher with Alejandro Cremaschi

- Episode 7: Susanna Garcia Discusses DEIB with Luis Sanchez
- Episode 6: Connor Chee, Navajo Pianist and Composer
NEW! Piano Inspires Discovery:
A space dedicated to inspiring the love of piano and music making through educational and inspirational content.
- Piano Inspires Podcast: Chee-Hwa Tan
- 2024 Collegiate Connections
- 5 Reasons to Enroll in a Summer Seminar
2024 Summer Intensive Seminars:

An International Exploration of Piano Teaching Literature
with Leah Claiborne and Luis Sanchez, Seminar Co-Leaders

Teaching Elementary Pianists
with Sara Ernst, Seminar Leader
Upcoming Events:

2024 Summer Intensive Seminars: An International Exploration of Piano Teaching Literature
with Leah Claiborne and Luis Sanchez, Seminar Co-Leaders
Upcoming Webinars:

International Webinar (English, Spanish and Portuguese): Watch Party with the music of Gurlitt, Streabbog, and Granados!
with Sara Ernst, Chris Madden, and Jessie Welsh (04/27/2024)
Pedagogical Approaches to Advancing Pianists Through Asian Repertoire
with Ross Salvosa, Regina Tanujaya, and Lisa Yui, with Leah Claiborne, host (05/01/2024)